Travel eSIMs let you get online abroad without swapping a plastic SIM or paying roaming fees. Install on Wi-Fi at home — validity usually starts when you connect at your destination.
Before you start
- Your phone must support eSIM and be carrier-unlocked
- Use Wi-Fi for the install
- Keep your home SIM in place for calls and WhatsApp
iPhone
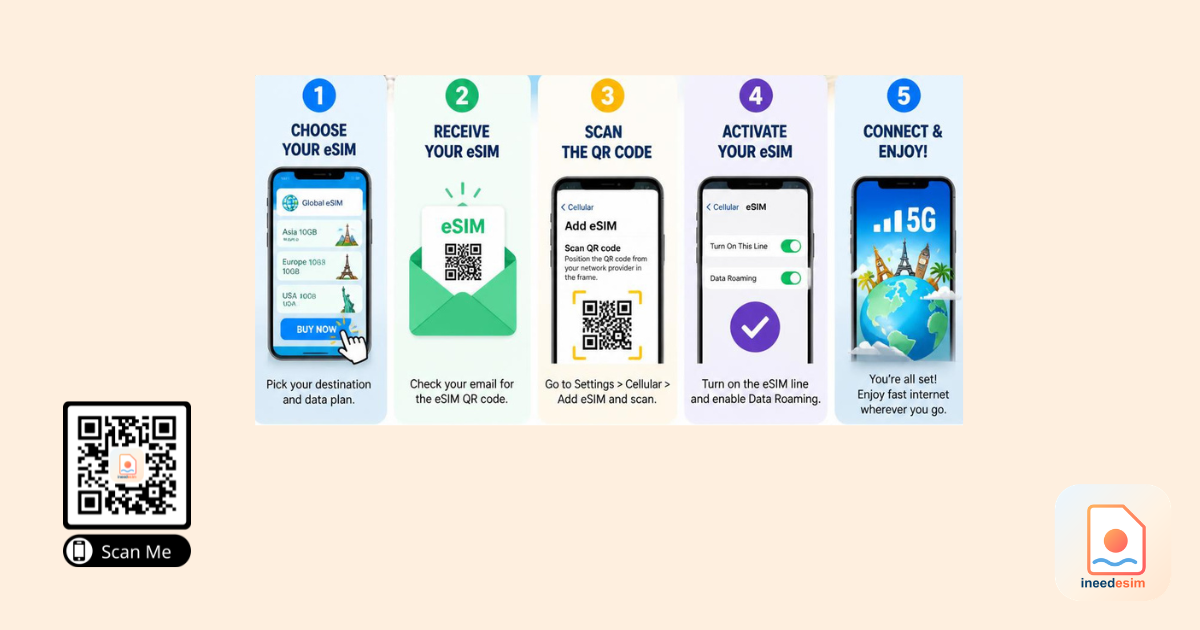
- Open your order email or order page with the QR code
- Go to Settings → Cellular → Add eSIM → Use QR Code
- Scan the QR, confirm, and label it Travel
- Leave the eSIM off until you land
- On arrival: enable the travel eSIM, set it for Cellular Data, turn Data Roaming ON for that line only
Android
- Open the QR on another screen (or use manual codes)
- Settings → Network & internet → SIMs → Add eSIM (Samsung: Connections → SIM manager)
- Scan, name it Travel, keep your main SIM for calls
- On arrival: enable eSIM for mobile data and turn Data Roaming on
Tips
Each QR installs once — don't delete the eSIM mid-trip. If something fails, email [email protected] with your order number.
Need data for your trip?
Browse eSIM plans for 190+ destinations — instant QR delivery.
Browse destinations