Activating an eSIM on your iPhone is a straightforward process that allows you to bypass physical SIM cards while traveling. Whether you are using a data-only plan for an upcoming trip or setting up a secondary line, understanding the activation flow ensures you have connectivity the moment you arrive at your destination. This guide walks you through the technical requirements and the specific steps required to get your digital SIM running smoothly.
Check Your iPhone Compatibility
Before you purchase an eSIM, you must ensure your device supports the technology. Apple introduced eSIM functionality starting with the iPhone XS, iPhone XS Max, and iPhone XR. All newer models, including the iPhone 11 series through the latest iPhone 15 and 16 lineups, fully support eSIM technology.
Additionally, your iPhone must be carrier-unlocked. If your device is locked to a specific network provider, it will not be able to connect to a third-party eSIM network. You can verify this by going to Settings, selecting General, tapping About, and scrolling down to Carrier Lock. It should state "No SIM restrictions."
Preparing for Installation
To successfully activate your eSIM, you need a stable internet connection. It is highly recommended to install your eSIM while you are still at home on a reliable Wi-Fi network rather than waiting until you arrive at the airport. This prevents issues caused by poor roaming connectivity or public Wi-Fi limitations.
Ensure your device is updated to the latest version of iOS. Apple frequently updates its cellular settings, and running an outdated version can occasionally lead to errors during the activation process. Have your QR code or manual activation details readily available, as these are provided by your eSIM carrier immediately after purchase.
How to Activate eSIM on iPhone via QR Code
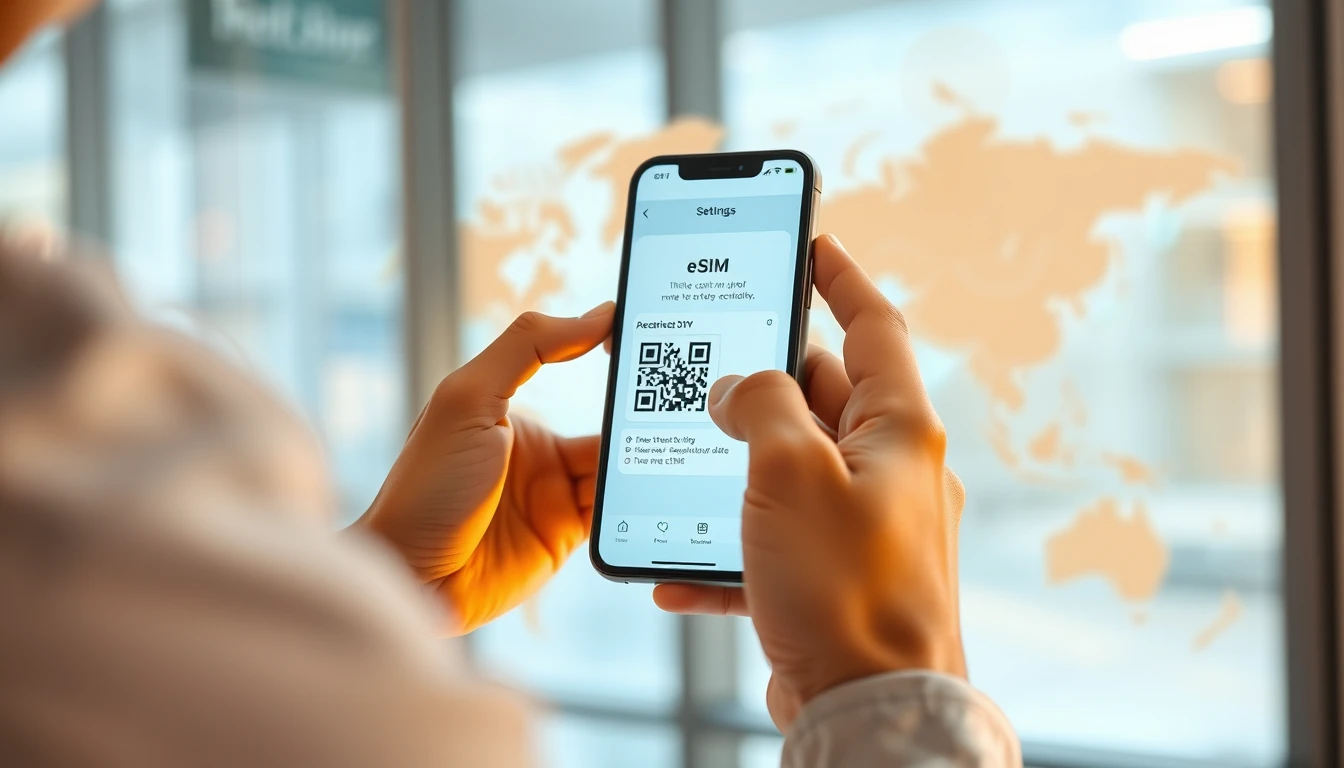
Most travel eSIM providers supply a QR code for the easiest setup experience. This method automatically configures the network settings for your device.
- Open the Settings app on your iPhone.
- Tap on Cellular or Mobile Data.
- Tap Add eSIM or Add Cellular Plan.
- Select Use QR Code when prompted.
- Position your iPhone camera over the QR code provided by your carrier.
- Follow the on-screen instructions to label your new plan (e.g., "Travel").
Once scanned, your phone will communicate with the carrier's server to register the eSIM profile. This process typically takes between 30 seconds and a few minutes. You can find more visual guidance on our install page.
Manual Activation for eSIM
If you cannot scan a QR code, perhaps because you are viewing it on the same device you are trying to activate, you can enter the details manually. Every eSIM carrier provides an SM-DP+ Address and an Activation Code for this purpose.
- Go to Settings, then Cellular or Mobile Data.
- Tap Add eSIM, then select Enter Details Manually at the bottom of the screen.
- Input the SM-DP+ address, Activation Code, and Confirmation Code exactly as provided.
- Tap Next to allow the iPhone to connect to the network.
Manual entry requires precision, as a single typo will prevent the eSIM from connecting. Always double-check the characters before hitting the final confirm button.
Managing Data and Roaming Settings
After installation, you must configure your cellular settings to ensure your phone uses the correct data source. This is the most common point of confusion for travelers.
- Navigate to Settings and tap Cellular.
- Tap Cellular Data and select your newly installed eSIM label.
- Ensure that Allow Cellular Data Switching is turned OFF to prevent your phone from accidentally using your primary home SIM and incurring expensive roaming charges.
- Tap your travel eSIM and ensure Data Roaming is toggled ON, as most travel eSIMs function via local roaming agreements.
Troubleshooting Common Activation Issues
If your eSIM fails to activate, do not panic. Most issues are minor and can be resolved by toggling settings. First, ensure Airplane Mode is turned on for 10 seconds and then turned off to force a network re-scan. If that fails, restart your iPhone completely.
If you receive an error message during installation, check your internet connection. If the issue persists, visit our help center for specific error code explanations. Remember that an eSIM profile can typically only be installed once. Do not delete the eSIM from your device unless you are absolutely certain you no longer need it, as you may not be able to re-download it without contacting support.
Frequently asked questions
Can I use my travel eSIM for phone calls and SMS?
Most travel eSIMs are data-only, meaning they provide internet access for apps like WhatsApp, iMessage, or Skype. If you require a local phone number for voice calls, check your specific plan details, as these are typically sold as separate voice-enabled products.
Will my eSIM work in multiple countries?
Many eSIMs are regional, covering entire continents like Europe or Asia, while others are country-specific. Always verify the coverage list provided by the carrier to ensure your destination is included in your plan.
How much data do I need per day?
For light usage like checking emails and maps, 200MB to 500MB per day is usually sufficient. If you plan on streaming video or uploading high-resolution photos to social media, aim for 1GB or more per day to avoid running out of data.
Need data for your trip?
Browse eSIM plans for 190+ destinations — instant QR delivery.
Browse destinations